
Shore Diving: A Complete Guide to Planning, Gear, Entries, Exits, Navigation, and Safety
I love shore diving
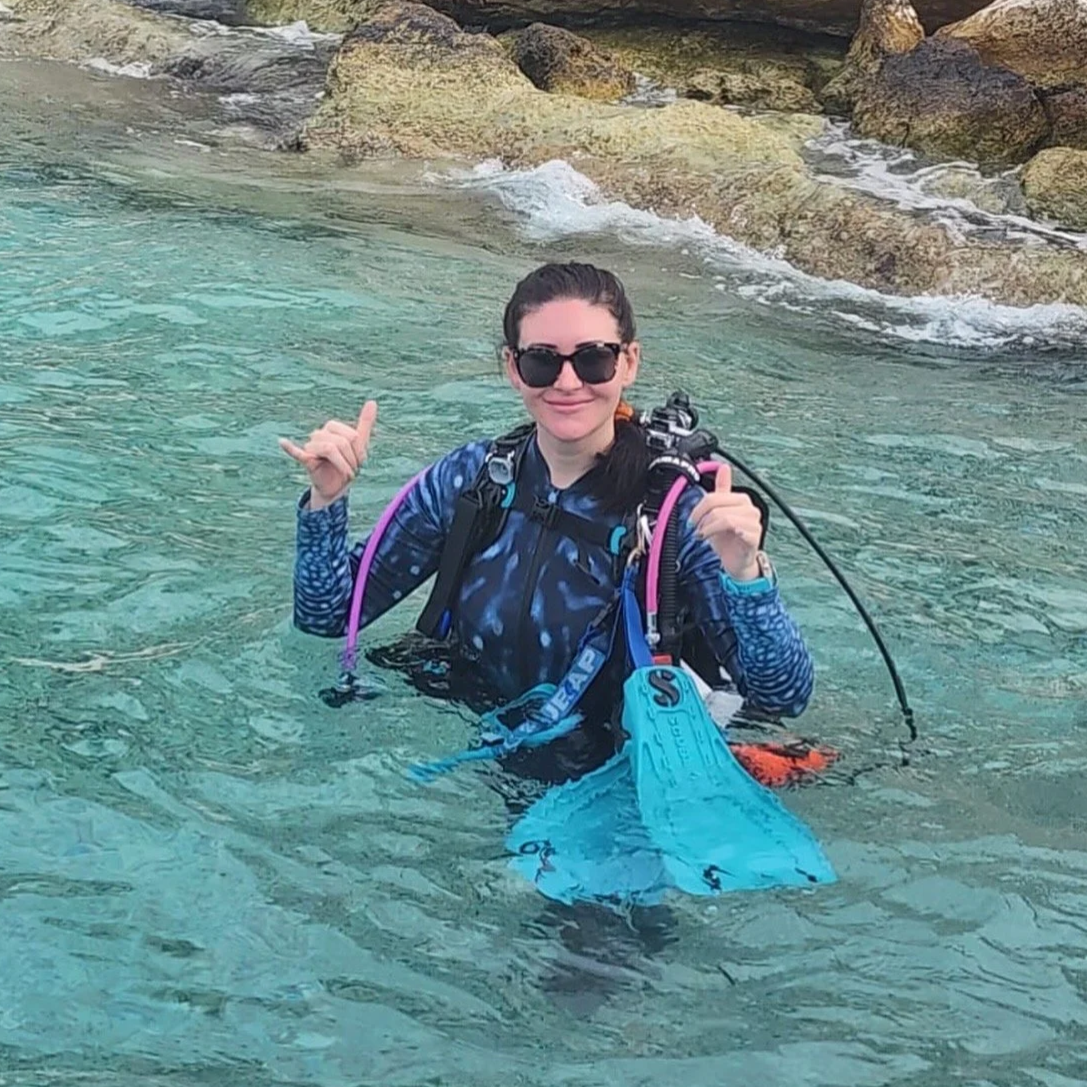
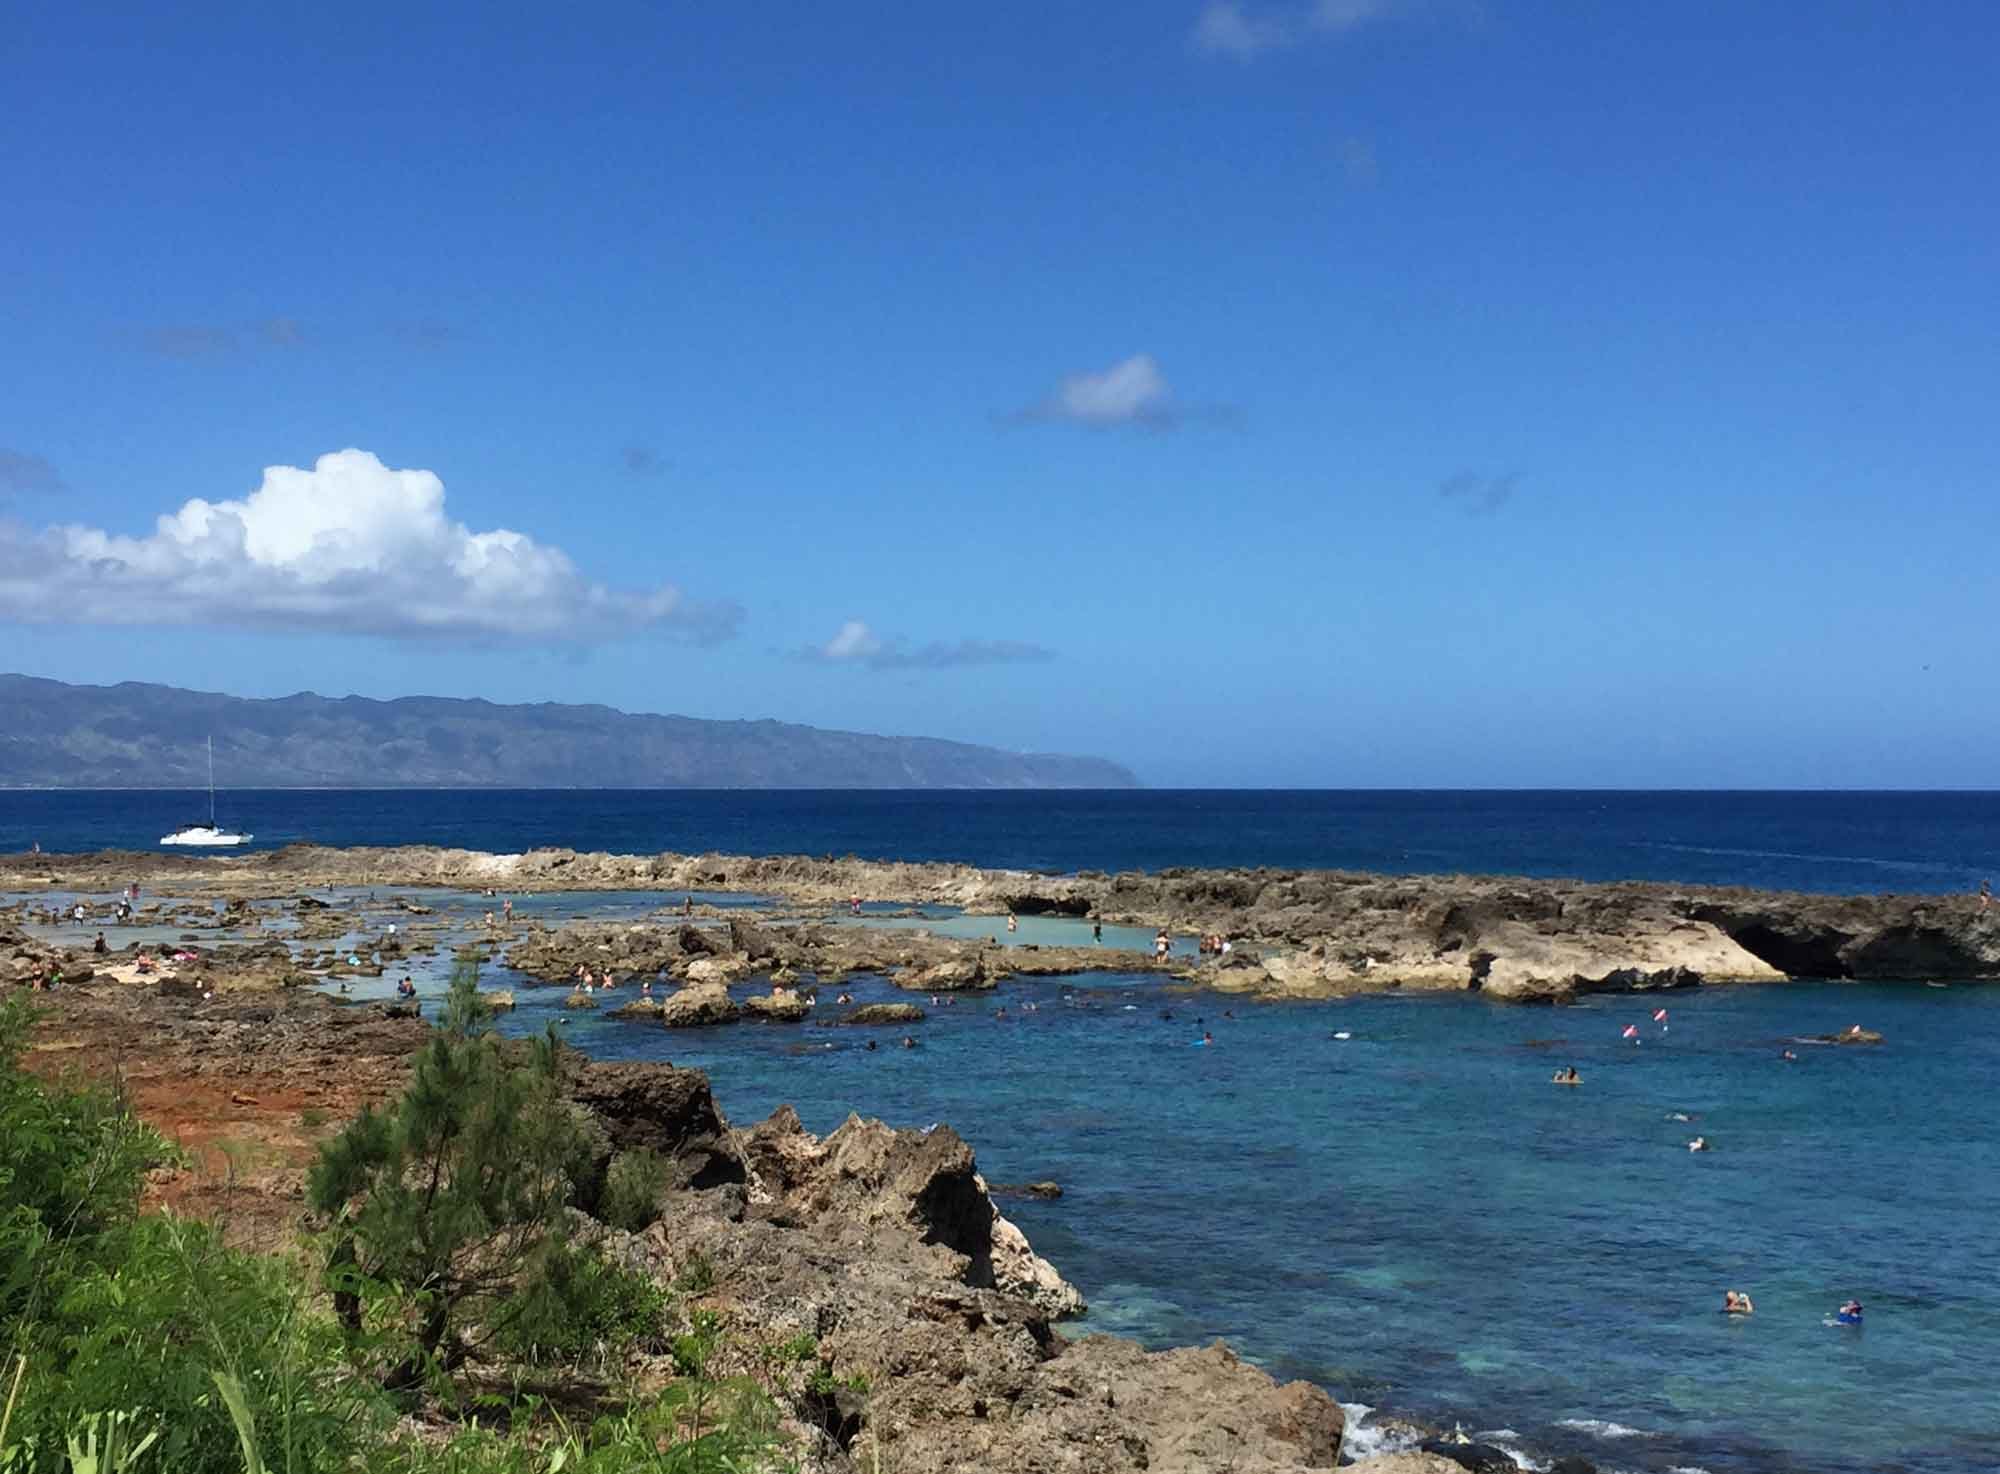
Some of my favorite dive sites in the world are shore dives, and Shark’s Cove on Oʻahu will always be a very special place for me. There is something about putting a tank on your back, walking into the ocean, and knowing an incredible dive site is sitting right beyond the shoreline that I absolutely love.
Shore diving also gives you a kind of freedom that boat diving doesn't. There isn't necessarily a captain telling you when to jump or a boat schedule determining when you need to be back. You can slow down, spend forever looking at one little section of reef, and access some absolutely phenomenal diving without ever stepping onto a boat.
That simplicity can also be misleading.
On a boat dive, there are often people handling a lot of things behind the scenes. Someone has checked the conditions. Someone knows the site. There may be a captain, divemaster, oxygen unit, first-aid kit, radio, and established emergency procedures. When you decide to shore dive independently, much more of that responsibility shifts to you and your buddy.
Where are you entering? More importantly, where are you getting out? What are the waves doing? Is there current? What will the tide do while you're underwater? How are you navigating? What's your gas plan? Is there boat traffic? Do you need a dive flag? What happens if you miss your exit? If there is an emergency, where are you going and who are you calling?
None of that is a reason to avoid shore diving. It's a reason to learn how to do it well.
Your Shore Dive Starts Before You Reach the Water
One of the best things you can do before diving an unfamiliar shore site is research it.
Start by looking for a good dive-site map. Local dive shops, resorts, dive clubs, regional diving websites, and guidebooks may have maps showing entry and exit points, reef structure, depths, navigation references, hazards, moorings, or common routes. PADI specifically recommends using dive-site maps from local dive centers when exploring shore sites.
If you find a useful map, save it to your phone before heading to the site. Cell service has a wonderful habit of disappearing exactly when you need it.
A map is only a starting point, though. It doesn't tell you how the site is diving today.
If I'm diving somewhere unfamiliar, I want to talk to a local dive shop. Ask where local divers normally enter and exit, whether there is a preferred tide, what the current typically does, what swell directions cause problems, whether there is significant boat traffic, and whether there are seasonal hazards. Ask whether there are conditions under which locals simply don't dive the site.
Most importantly, ask, “How is this site diving right now?”
The ocean doesn't care that a blog post from three years ago called this an easy shore dive.
Local knowledge is incredibly valuable, especially when you're somewhere new.

When You Arrive, Stop and Look at the Ocean
Don't immediately put your gear on.
Stand there and watch the water for a few minutes. Where are the waves breaking? Are they arriving in sets? Is there a calmer area? Can you see water moving consistently in one direction? What does the entry actually look like? Sand, rock, lava, stairs, slippery algae-covered surfaces?
Then look at the exit.
Your entry does not necessarily need to be your exit, but you need to know what the plan is before committing to the dive. Think about whether changing tides or surf could make an easy entry considerably more difficult by the time you return. Is there an alternate exit if conditions change?
DAN specifically warns that shore-diving conditions can change rapidly, sometimes even while divers are underwater, and recommends continuing to evaluate conditions throughout the dive rather than treating the initial assessment as the end of the process.
I like to think about forecasts and actual conditions differently. A forecast helps me decide whether the dive might be worth planning. The ocean sitting in front of me determines whether I'm actually getting in.
Sometimes the Best Shore Dive Is the One You Don't Make
One of the most important shore-diving skills has nothing to do with putting a regulator in your mouth. It's being willing to look at the ocean and decide you're not getting in.
Maybe the surf is larger than expected. Maybe the entry looks significantly different from what you researched. Maybe the current is stronger than the local shop described that morning. Maybe visibility around the entry is terrible, your buddy isn't comfortable, or something simply doesn't match the dive you planned.
You don't need to prove anything to the ocean.
Calling a dive because the conditions aren't appropriate isn't a failed dive. Conditions change, and good judgment is part of being a good diver. DAN's shore-diving guidance specifically emphasizes reassessing conditions because changes can affect your planned entry, exit, and overall dive.
The reef will still be there another day.
Plan the Dive Before You Put Your Tank On
Shore diving can feel casual. You meet your buddy in a parking lot, open the trunk, start assembling gear, and twenty minutes later you're walking toward the water.
Casual setting does not mean casual dive planning.
Before getting in, you and your buddy should understand the planned route, maximum depth, expected dive time, gas plan, navigation plan, entry and exit procedures, buddy positioning, separation procedures, and what would make either of you call the dive.
Current should be part of that conversation. If you're swimming against a mild current at the beginning and returning with it, that's a very different dive from happily allowing a current to carry you away from your exit and discovering halfway through the dive that you need to fight it to get home.
This is also why I don't love blindly applying “turn at half a tank” to every shore dive. A simple half-tank turnaround may be perfectly reasonable for some easy out-and-back dives, but it isn't a universal gas plan. Think about which part of the dive is likely to require more time and effort and preserve an appropriate reserve for both you and your buddy. Your gas plan should reflect the dive you're actually doing.

Surface Swim or Descend?
Some shore dives involve a significant surface swim before you descend. At other sites, you can descend relatively close to shore and navigate underwater toward the main dive site.
There isn't one correct answer for every dive.
A surface swim preserves cylinder gas, but that doesn't automatically make it easier or safer. Swimming in chop, current, or full scuba equipment can be physically demanding. Boat traffic, visibility, depth, bottom conditions, distance, and the normal procedures for that particular site all matter.
Sometimes descending relatively close to shore makes sense. Sometimes a surface swim is absolutely the better plan. This is another question worth asking local divers when you're unfamiliar with a site.
If you're making a longer surface swim, establish positive buoyancy, stay close to your buddy, continue watching conditions, and remain aware of boat traffic.

Think About Your Shore-Diving Gear
Your basic scuba equipment doesn't necessarily change for a shore dive, but how you configure it might.
Start with your feet. What are you walking over before you reach the water? Soft sand is very different from sharp lava, coral rubble, slippery rocks, a long trail, or stairs. Appropriate dive boots can make an enormous difference at sites with challenging entries, and open-heel fins paired with sturdy boots may be much more practical than full-foot fins for some shore dives.
Think about when you're putting your fins on too. Depending on the site and conditions, you may put them on before entering, walk into protected water and put them on there, or use another site-specific technique. What works beautifully on a calm sandy beach may be a terrible idea on slippery rocks with surge.
I also want my gear streamlined. You're potentially walking farther, negotiating uneven terrain, and dealing with waves while fully equipped. This isn't the time to have twelve accessories dangling from your BCD.
Know where everything lives before you start walking toward the ocean.
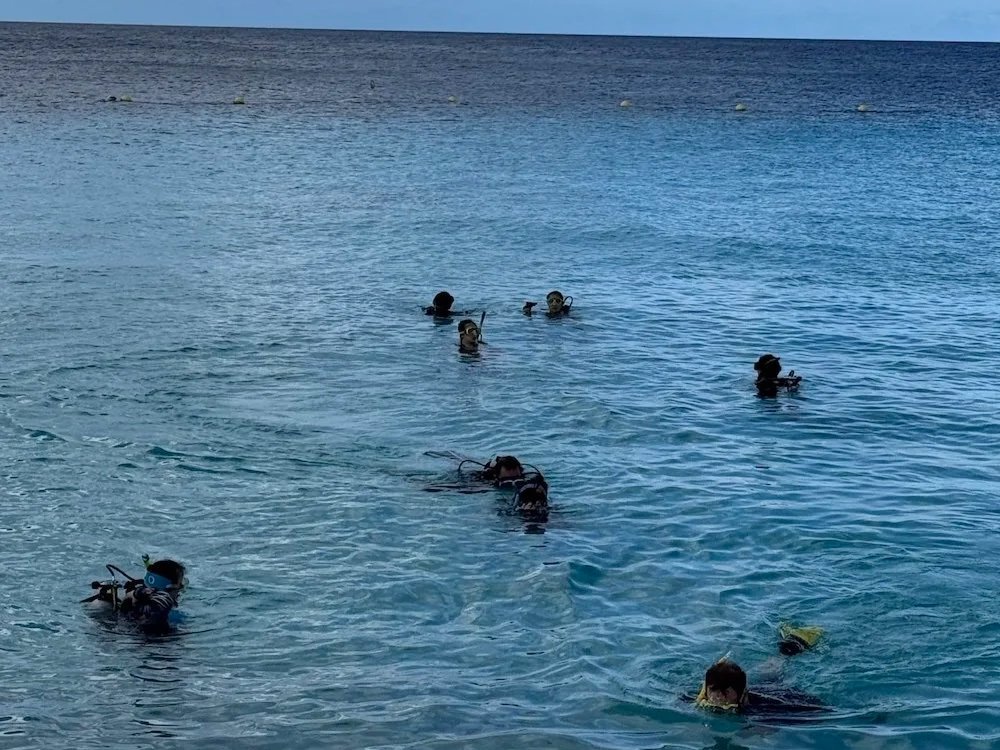
Bring a Save-a-Dive Kit
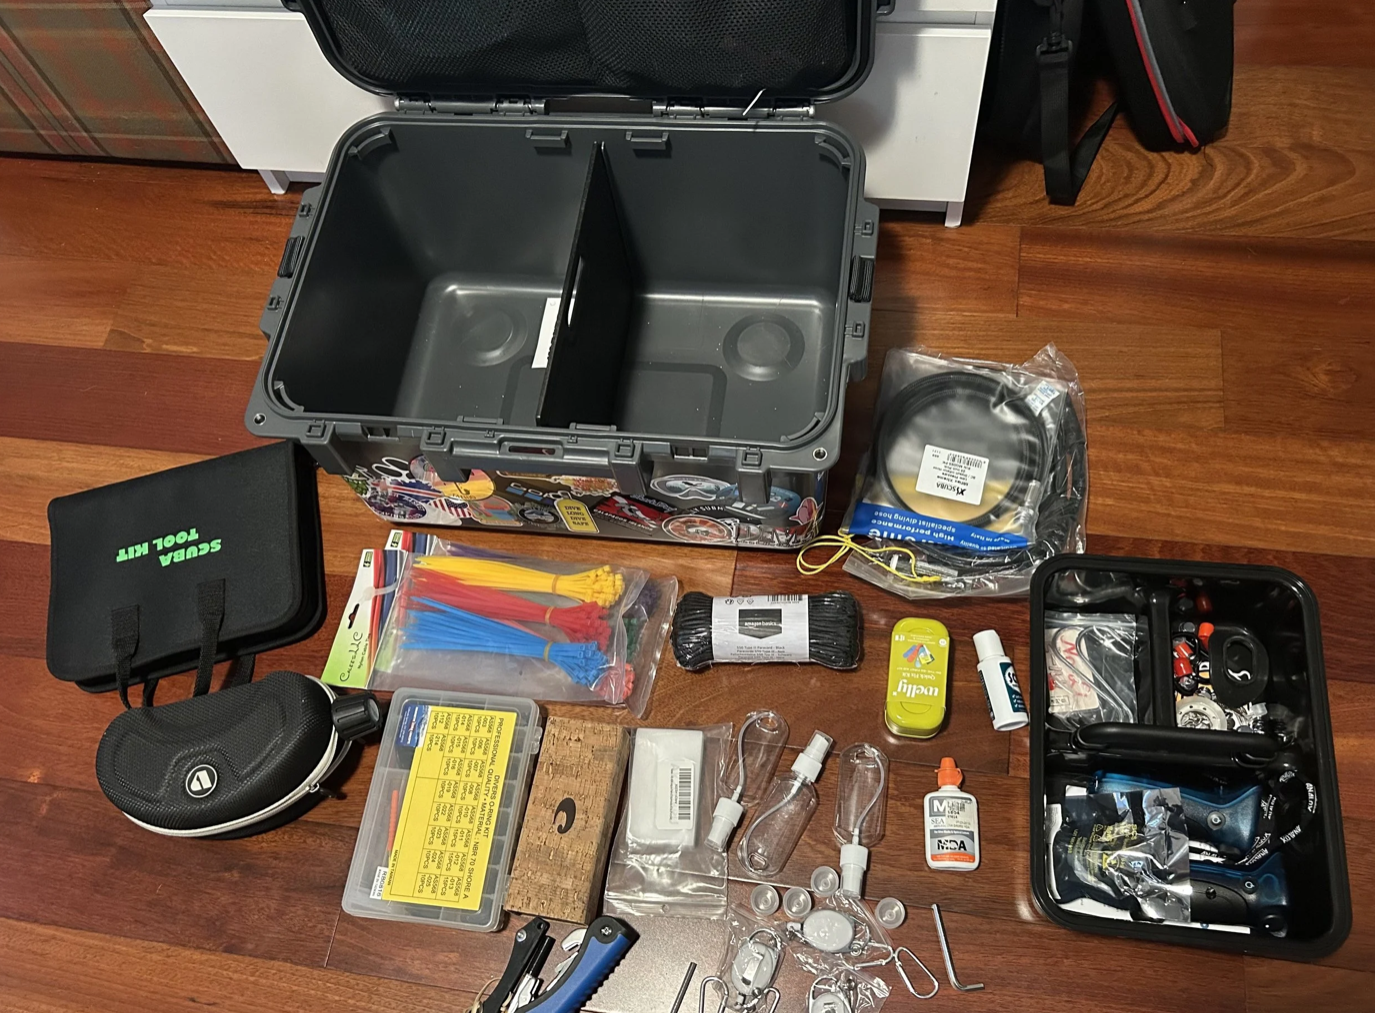
On a dive boat, somebody may have the O-ring, spare strap, or tool you need. On an independent shore dive, the dive shop may be twenty minutes away.
A save-a-dive kit can keep a tiny equipment problem from ending an otherwise perfectly good day. Think about the small things most likely to fail or disappear: appropriate spare O-rings, a spare mask or mask strap, a replacement fin strap or bungee appropriate to your fins, defog, batteries where applicable, clips, and basic tools appropriate for your equipment.
If you shore dive frequently, this may turn into more of a save-a-dive bin that lives in your vehicle. A spare mask or even spare fins can turn an equipment mishap into a minor inconvenience instead of the end of your dive day.
There is an important distinction, though. A save-a-dive kit is for appropriate minor field fixes. It isn't permission to perform major repairs on life-support equipment you're not qualified to service.
Sometimes the correct way to save the dive is not to make it.
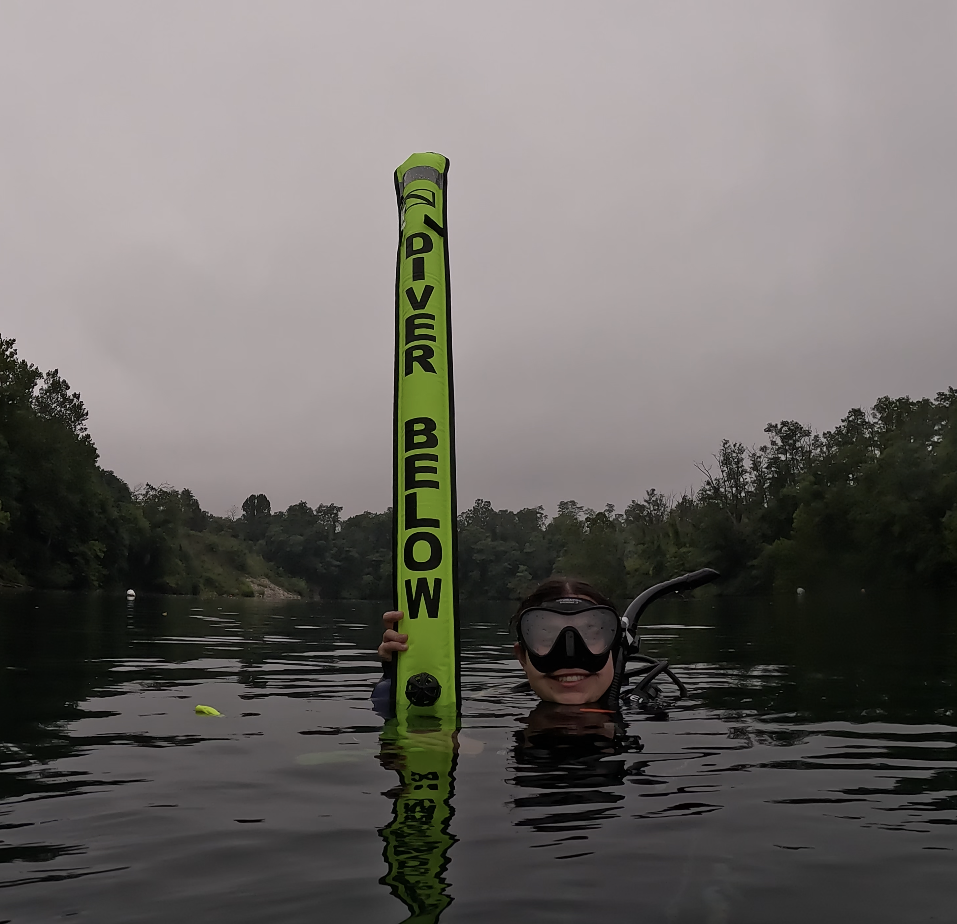
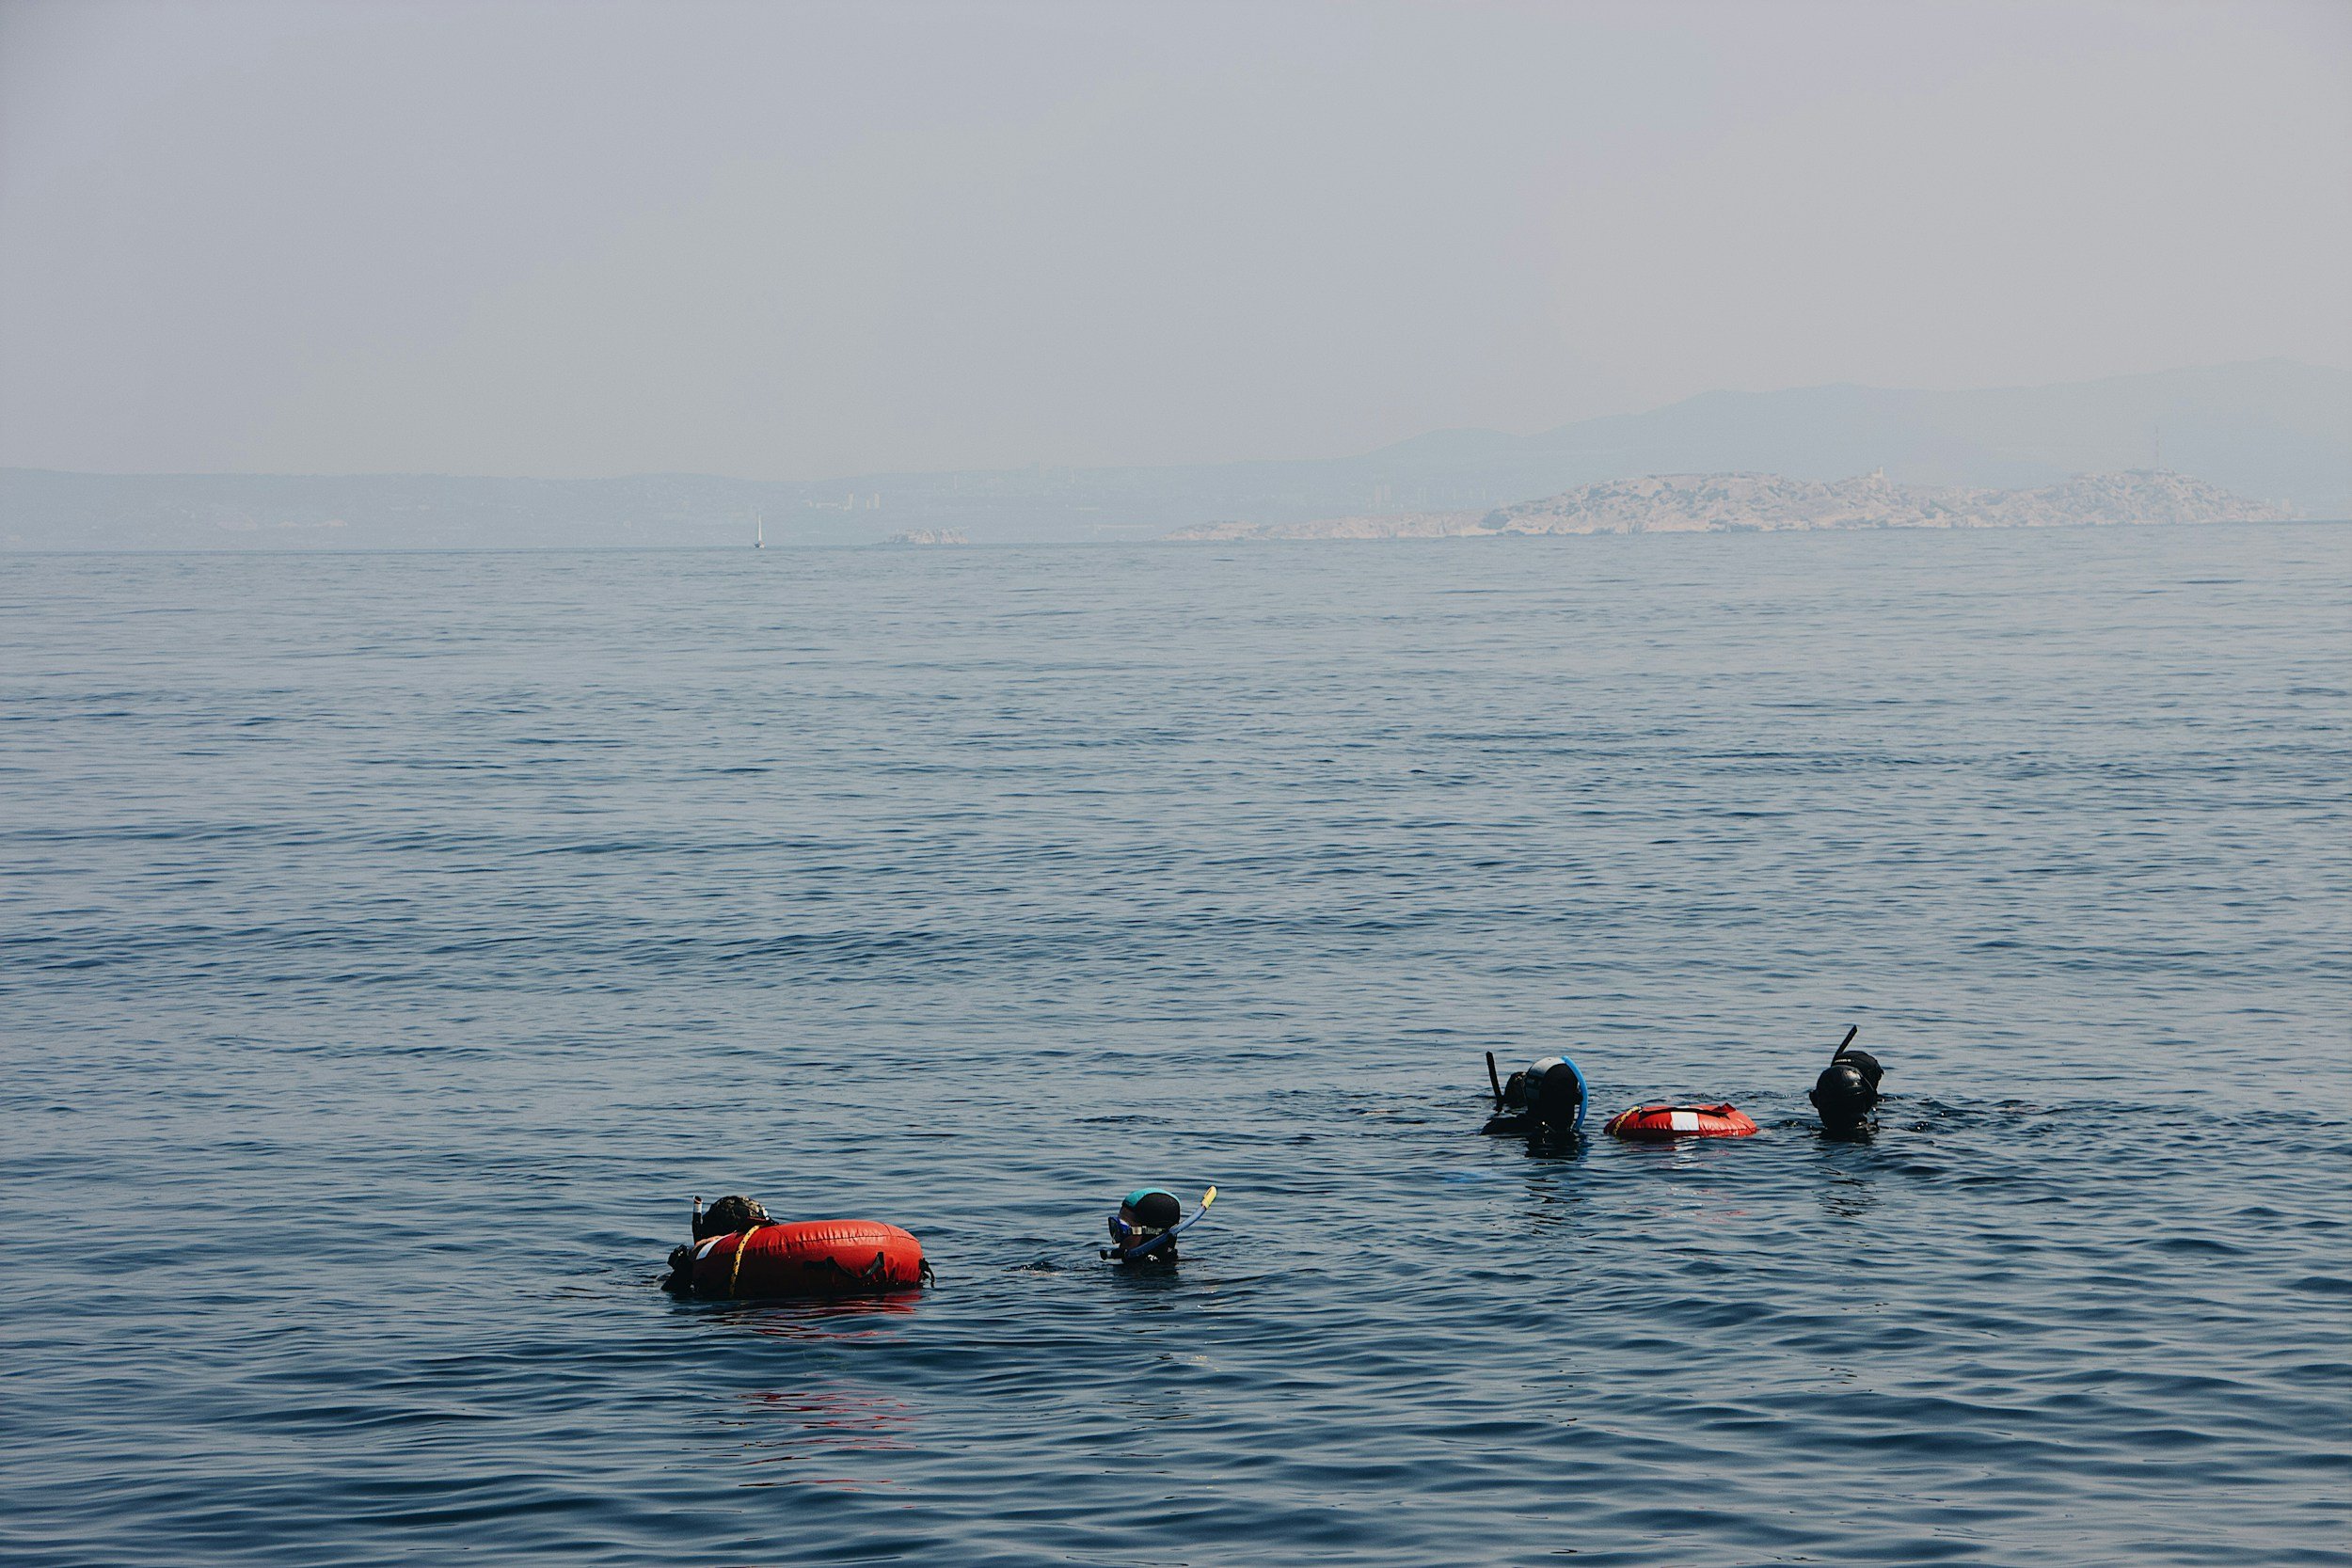
I Recommend a Dive Flag Even When It Isn't Required
Boat traffic is one of the things I want recreational shore divers thinking about seriously because you may not have a dive boat above you making your presence obvious.
Depending on where you're diving, a diver-down flag may be legally required. Local regulations may dictate which flag is recognized, its size, how it needs to be displayed, how close divers must remain to it, and how far vessels are required to stay away. PADI specifically tells divers to check these local requirements before diving.
Even if a dive flag isn't legally required where I'm diving, I recommend using one when it's appropriate for the environment. PADI says that although dive flags are required by law only in some areas, using one is generally a good safety practice. DAN similarly notes that a dive flag can be a prudent addition even where it isn't legally required.
Why wouldn't I want people on the surface to know there are divers underneath them?
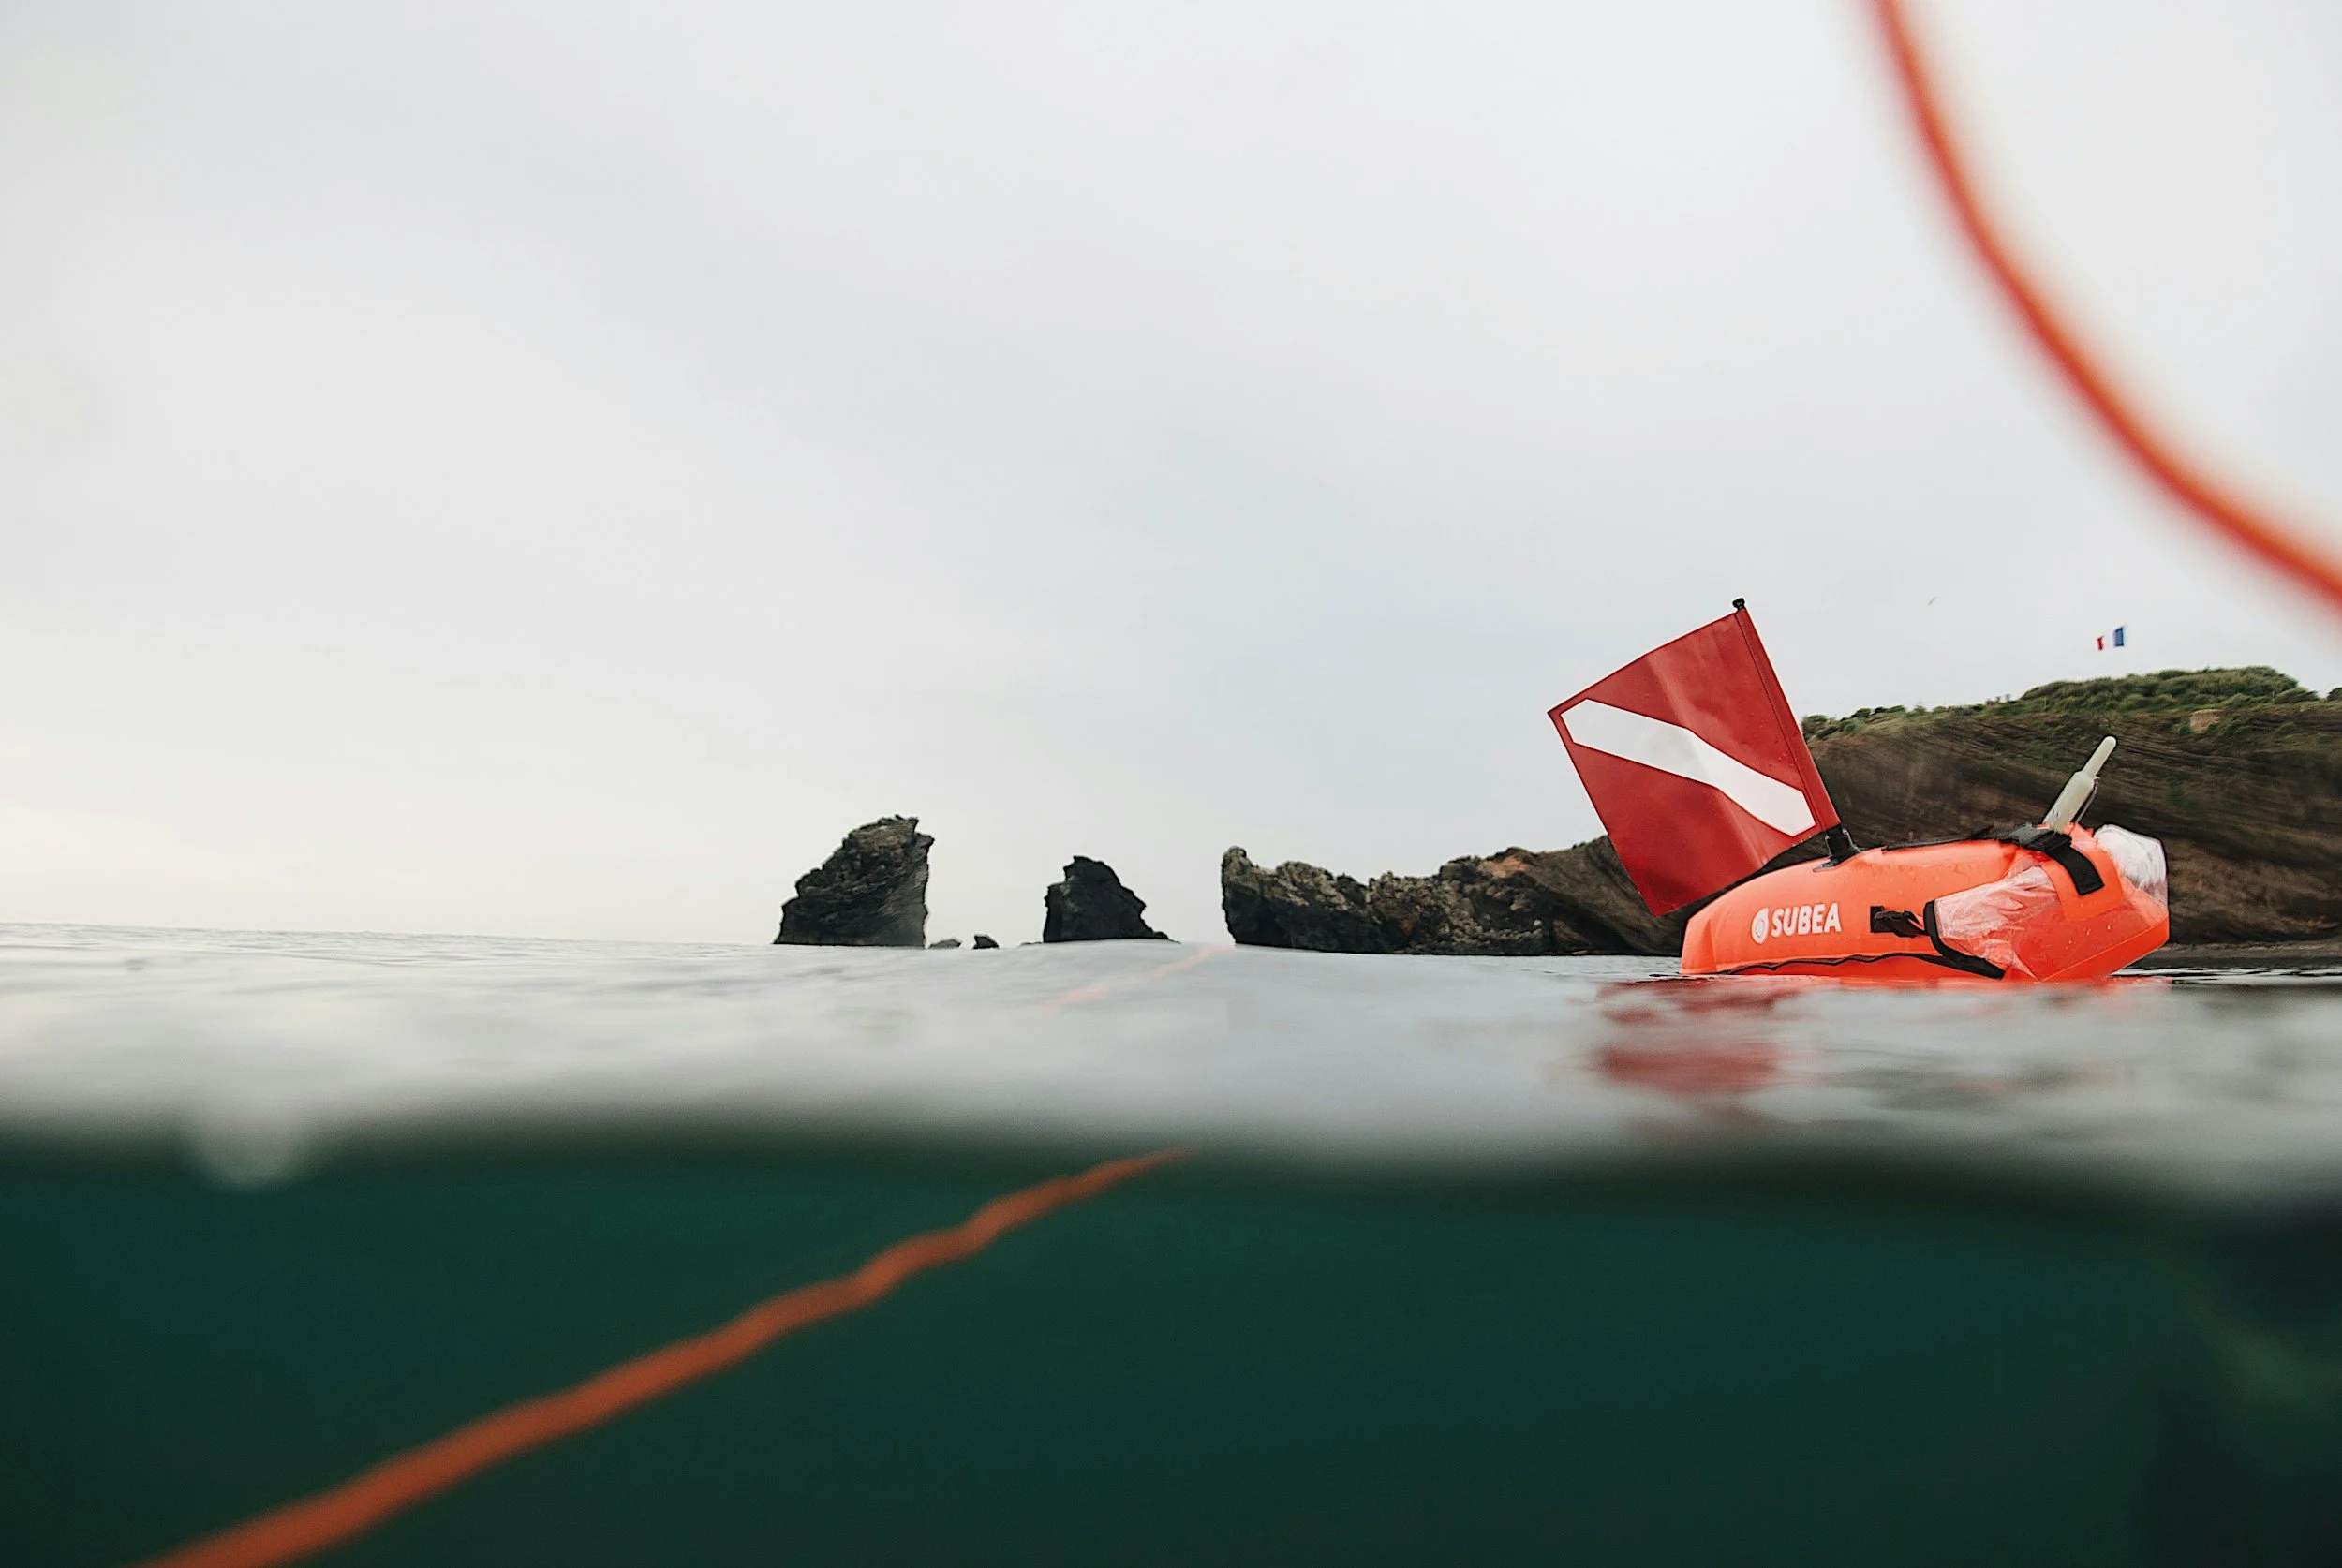
A good float needs enough buoyancy and stability to keep the flag visible above waves or chop, and the flag itself needs to be high enough to be seen. PADI also recommends keeping the flag, float, line, and reel in good condition.
If you're towing the flag, line management becomes part of your dive. You need to know where that line is so it doesn't become wrapped around you, your buddy, your equipment, or the environment. DAN specifically advises that a reel towing a floating dive flag should not be attached directly to the diver because if a passing vessel catches the flag or line, the diver could be dragged with it.
Like anything we add to our scuba setup, a flag and float solve one problem while introducing something else that needs to be managed.
A Dive Flag Isn't a Force Field
Having a dive flag doesn't mean you can stop thinking about boat traffic.
PADI specifically cautions divers not to assume boaters will follow dive-flag laws.
A flag makes your presence more visible and may establish legal responsibilities for nearby vessels, but it cannot physically stop a boat from driving over you. Continue to be cautious when ascending and surfacing. Pay attention to boat traffic, listen, look when conditions allow, and use appropriate surface-signaling equipment.
As DAN puts it in its boating-safety guidance: “Maintain vigilance.”
That's good advice whether you're diving from a boat or walking in from shore.
A Dive Flag and a DSMB Aren't the Same Thing
This is an important distinction.
A dive flag and float can mark the general location of divers below throughout a dive and may be required by local law. A DSMB is carried by the diver and can be deployed from underwater or at the surface to make the diver's location more visible. PADI treats dive flags/floats and surface-signaling devices as distinct pieces of safety equipment.
Both can be incredibly valuable, but they aren't necessarily interchangeable.
If local law requires you to display a dive flag, having a DSMB neatly folded inside your BCD pocket doesn't automatically mean you've satisfied that requirement.
I still think knowing how to deploy a DSMB is an incredibly valuable skill for recreational divers. What happens if you don't return to your planned exit? What if current moves you farther offshore? What if conditions force you to surface somewhere unexpected?
Suddenly being able to make yourself much more visible becomes extremely important.
A DSMB also isn't particularly useful if the first time you've ever tried to deploy one is during an actual problem. Practice deploying it in appropriate controlled conditions until you can manage the DSMB, spool or reel, depth, and buoyancy without creating a bigger problem for yourself.
If You Surface Offshore, Can Anyone Actually See You?
This is one of my favorite questions to ask divers because we don't think about how tiny we are in the ocean until we're actually floating in it.
Imagine you surface significantly farther from shore than planned. There is some chop and your head is now a very small object in a very large body of water.
How are you making yourself easier to find?
PADI recommends carrying at least two surface-signaling devices, ideally one visual and one audible. A DSMB or inflatable signal tube gives you a much larger visual target, while a whistle gives you a way to attract attention without exhausting yourself yelling.
Depending on where and how you're diving, a signal mirror, light, strobe, or other signaling equipment may also make sense. PADI notes that the right combination depends on the environment and remoteness of the dive.
That doesn't mean I want recreational divers clipping seventeen emergency gadgets to the outside of their BCDs. Safety equipment still needs to be streamlined, accessible, and appropriate for the dive.
What I want you thinking beyond is simply, I'm entering from shore, so obviously I'll just swim back to shore.
What happens if you can't?
Carry an Accessible Cutting Device
Depending on where you dive, shore sites may have fishing line, hooks, rope, nets, kelp, or other potential entanglement hazards.
An appropriate cutting device stored somewhere you can actually reach can be an important piece of safety equipment.
The important part is actually reach.
Think about whether you could access your cutting device if one arm were restricted. Don't bury it somewhere underneath equipment or position it so that you need the trapped hand to retrieve it.
The same principle applies to your DSMB, whistle, backup light, and other safety equipment. Everything should have a deliberate home, and you should know where it is without having to look for it.
Navigation Starts Before You Enter
Before you walk into the water, turn around and look back toward shore.
Seriously.
What does your exit look like from the water?
That incredibly obvious palm tree may become one palm tree on a coastline containing approximately eight thousand palm trees once you're offshore.
Look for distinctive, fixed landmarks. Where appropriate, identifying two landmarks that line up when you're directly offshore of your entry or exit can give you a much more useful reference than simply thinking, I parked somewhere over there.
Once underwater, use your compass and natural navigation together. Pay attention to bottom contours, depth, reef orientation, sand channels, current direction, and distinctive features. If you have a site map, connect what you saw on that map to what you're actually seeing underwater.
Don't simply follow the reef for forty minutes and assume you'll magically recognize home on the way back.
Good shore diving makes you use your navigation skills, and I think that's one of the reasons it can make you a better diver.
The Exit Deserves as Much Attention as the Entry
People spend a lot of time worrying about how they're getting into the ocean and surprisingly little time thinking about how they're getting back out.
The exit may actually be harder.
You're tired. Conditions may have changed. Your cylinder is lighter. The tide may have changed. Surf may have increased. Maybe you're carrying a camera or helping your buddy.
Start thinking about the exit before you reach it. Look at what the water is doing and communicate with your buddy. Don't automatically commit to exactly the same place you entered if your planned alternate exit is now the safer option.
This is another reason local knowledge is so valuable. Someone who dives the site regularly may know exactly which exit becomes difficult with a particular swell or tide.
If You Miss Your Exit
First, don't panic.
Make a controlled ascent following appropriate procedures, establish positive buoyancy, stay with your buddy, use your signaling equipment when appropriate, and figure out where you are.
Don't automatically decide the answer is to descend again and start swimming around underwater looking for the exit simply because you still have gas.
Assess the situation. Where is shore? What is the current doing? Is there boat traffic? Is your original exit still the safest option? Is there an alternate exit you identified before the dive?
This is much easier to deal with when you've considered the possibility beforehand rather than inventing a plan while floating offshore.
Have an Emergency Action Plan
Recreational divers sometimes hear “Emergency Action Plan” and assume that's something only instructors and dive shops need.
If you're independently shore diving, I want you and your buddy thinking about one too.
It doesn't need to be a twenty-page professional document. It needs to answer the questions that matter when something goes wrong.
Where exactly are you? If you call emergency services, can you describe the location well enough for responders to find you? Do you have cell service? If not, how will you get help? Where is the nearest appropriate medical facility? How can EMS access the dive site? Is there a locked gate, long trail, staircase, or other obstacle that could affect evacuation?
Where is your first-aid kit? Where can you access emergency oxygen? Who in your group has CPR, first-aid, or oxygen-provider training? What is your plan for a missing diver? Does someone on shore know where you're diving and when you expect to return?
DAN emphasizes that emergency plans need to reflect the specific risks and location of a dive site rather than being generic documents that don't account for the actual environment.
I particularly like keeping useful emergency information saved on a phone for sites you dive regularly. Site name and location, emergency contact information, nearest appropriate medical care, access instructions, local dive resources, and other site-specific considerations can all be incredibly useful.
The goal isn't to make shore diving feel scary.
It's to make an emergency less chaotic.
You don't want to start Googling nearest hospital after somebody gets hurt.
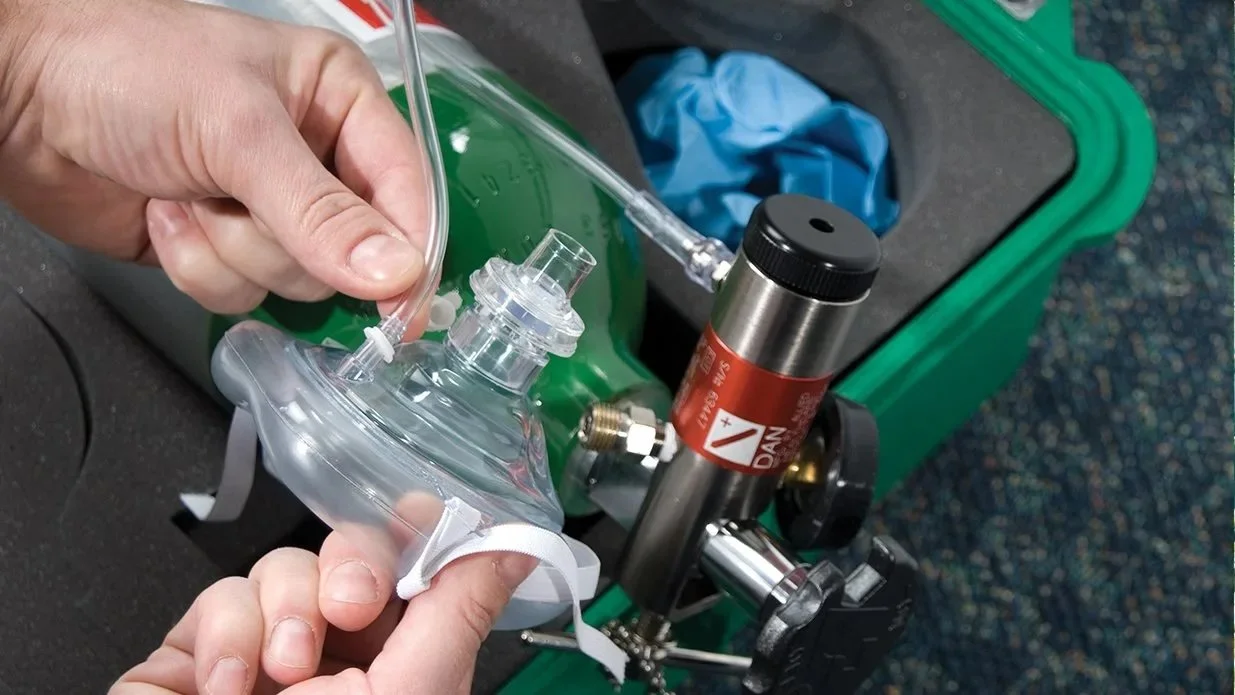
Know Where Oxygen and First Aid Are
DAN recommends that shore-diving operations have emergency oxygen and first-aid supplies readily accessible and notes that restricted or remote access can complicate emergency response.
For two recreational buddies independently going shore diving, that doesn't necessarily mean every buddy team must personally own an oxygen unit. It does mean you should know what emergency resources are available, where the nearest oxygen is, how long it would take to access it, and whether the remoteness of the site changes what your group should carry.
The same applies to first aid.
An appropriate first-aid kit at your vehicle or staging area is incredibly useful, particularly at shore sites where cuts, scrapes, slips, marine-life injuries, or other incidents can occur before or after anyone even gets underwater.
Know where the equipment is before someone needs it.
Your Car Becomes Base Camp
One of the things I love about shore diving is that your vehicle basically becomes your tiny dive operation for the day.
That's where I want the save-a-dive kit, first-aid supplies, water, snacks, dry clothes, towels, sun protection, phone, power bank, site information, and whatever other equipment is appropriate for the dives we're doing.
Don't forget hydration. Shore diving can involve a decent amount of physical effort, especially when you're walking in the sun carrying a cylinder and the rest of your equipment.
There is also one very unexciting question worth answering before you put on all your scuba gear:
What are you doing with the car key?
Modern electronic key fobs and salt water aren't always the greatest combination. Leaving your keys, phone, wallet, or other valuables hidden beside your vehicle isn't necessarily a great security plan either. Vehicles and keys differ, so figure out a secure solution appropriate to your setup before everyone is standing there fully geared wondering who has the key.
It's not glamorous scuba advice.
It is extremely practical shore-diving advice.
Cameras Make Shore Diving More Interesting
I love underwater photography.
I do not necessarily love walking across slippery rocks in full scuba equipment while also trying to protect an expensive camera housing.
If you're bringing a camera, plan for it separately. Where is it during the entry? Can your buddy safely hand it to you after you're stable in the water? Is there somewhere appropriate to stage it? What happens during the exit when you're tired and conditions may have changed?
Sometimes there is an easy solution.
Sometimes the solution is to leave the giant camera setup behind.
Painful, I know.
Your camera doesn't get a vote in whether the entry is safe.
Shore Diving at Night
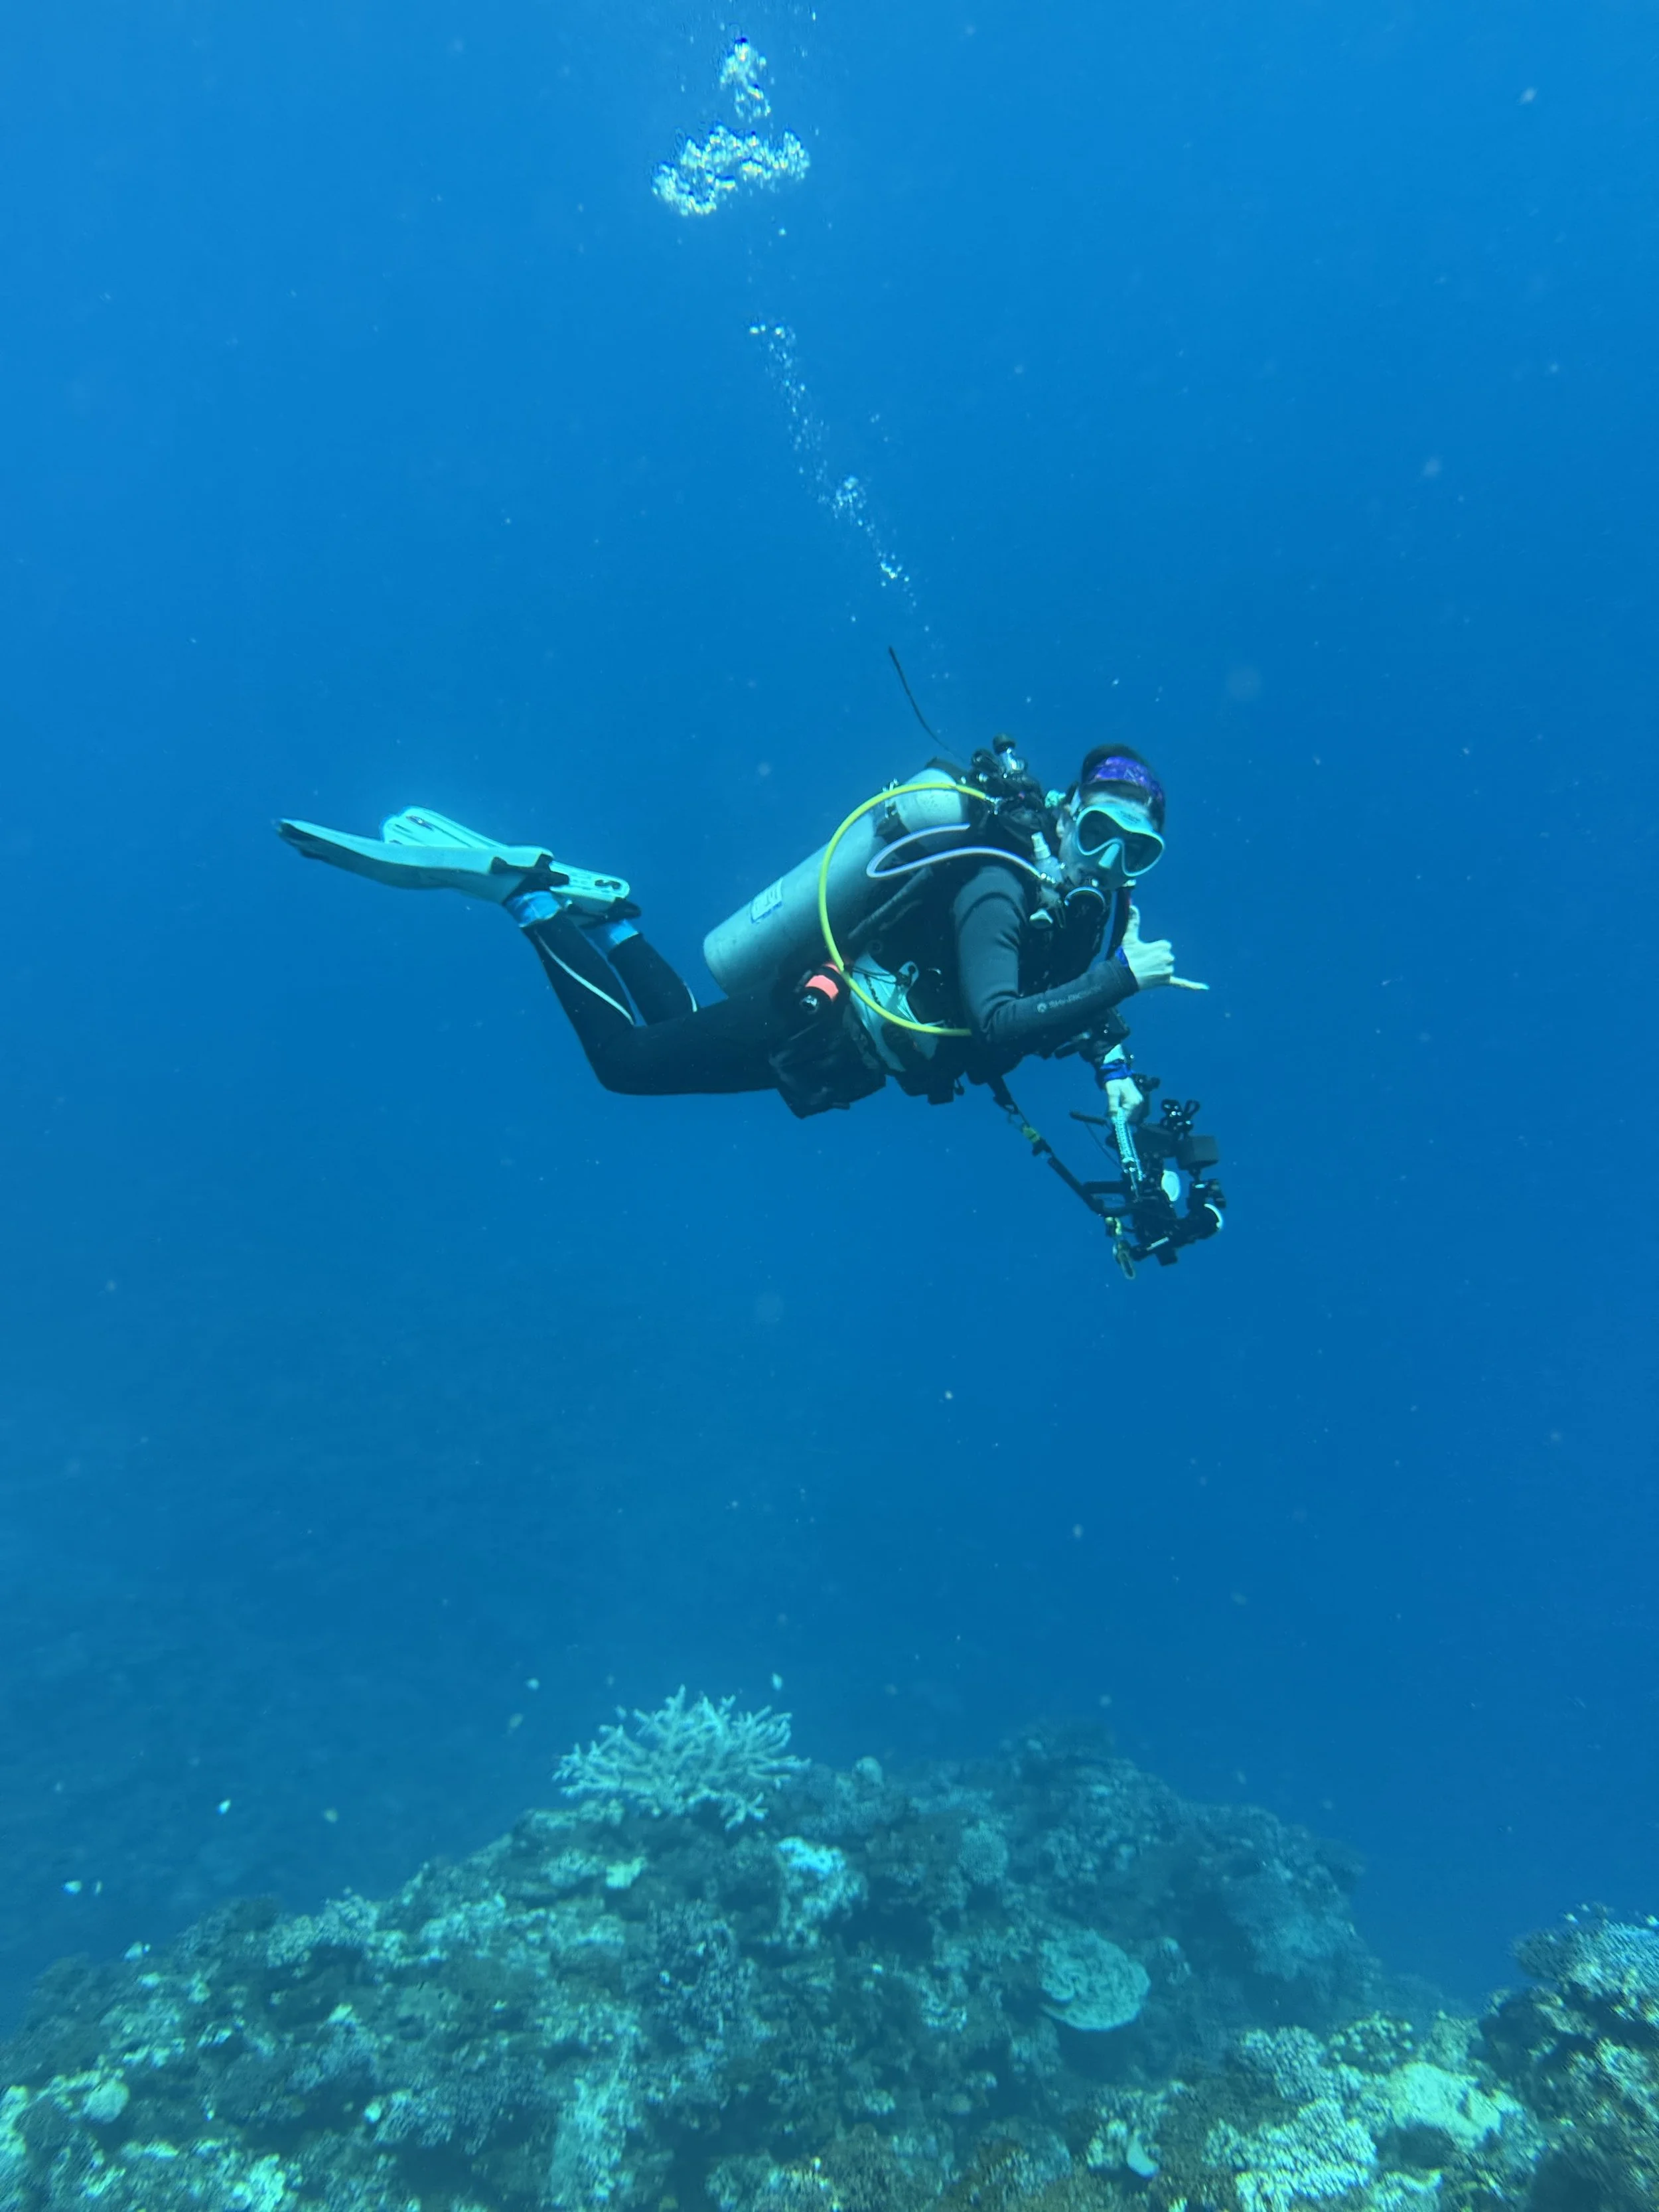
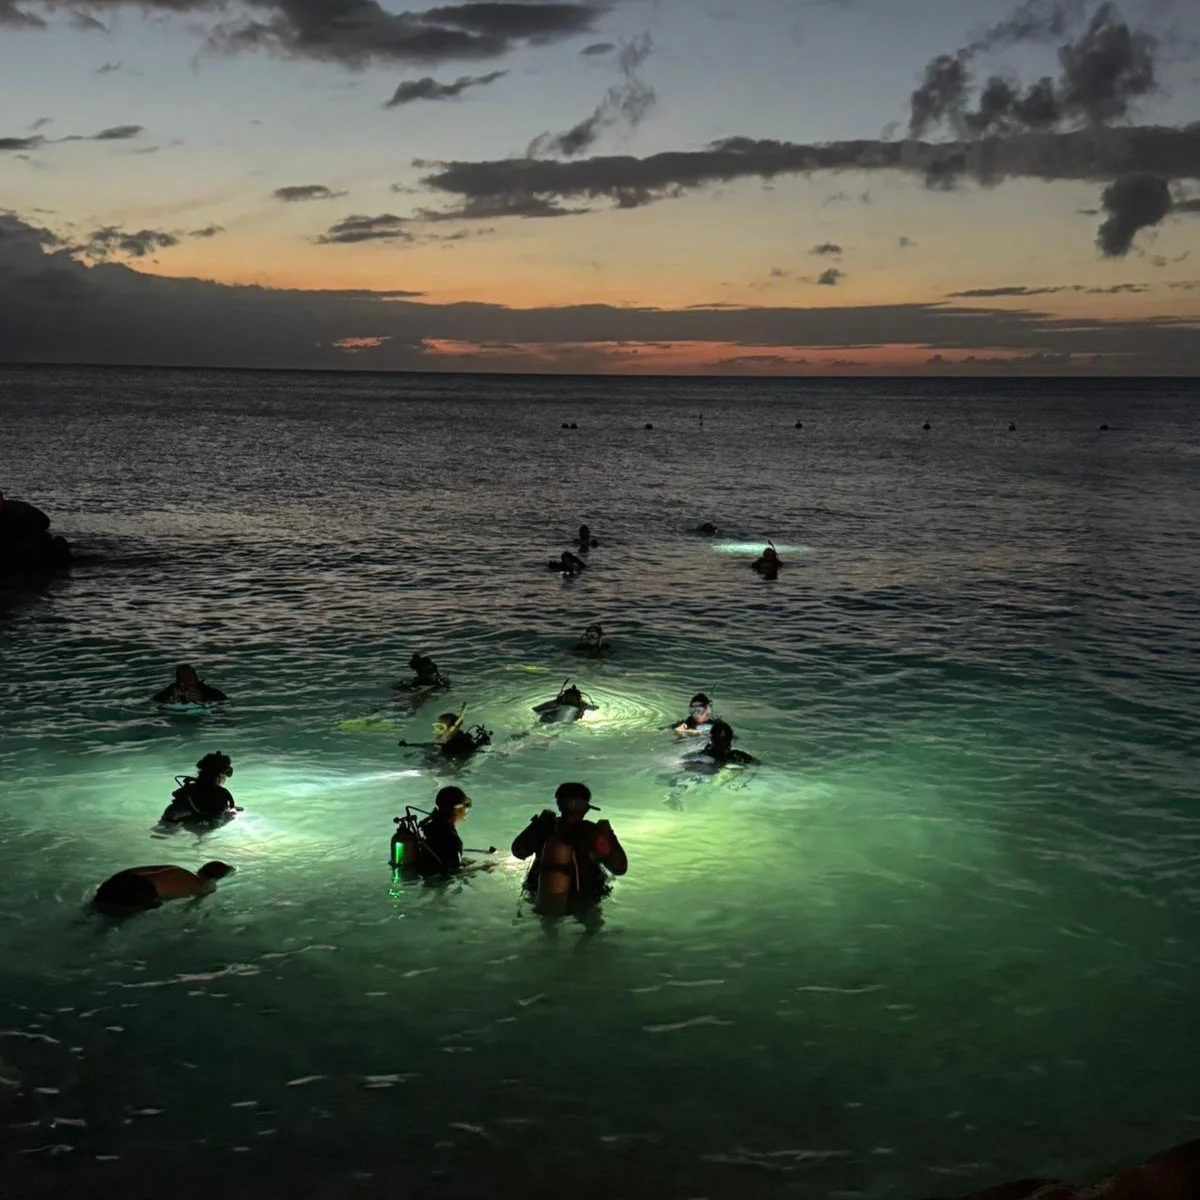
Everything we've talked about becomes a little more important after sunset.
Navigation requires more deliberate attention. Your exit can become harder to recognize. Your dive flag may need illumination under local regulations. You need appropriate primary and backup lights, and you need to think about how you're identifying the shoreline.
This is why I love diving a site during the day before doing it at night whenever possible. You can learn the layout, see the entry and exit, identify landmarks, and understand the underwater topography before darkness removes many of those visual references.
Night shore diving can be absolutely incredible. It just deserves the extra planning.
Respect the Place You're Diving
Shore diving gives us incredible access to the ocean, and with that comes a responsibility to take care of the places we're using.
Respect private property and access restrictions. Don't block driveways, ramps, trails, or beach access with vehicles or dive gear. Be considerate of swimmers, snorkelers, surfers, paddlers, fishers, and everyone else using the water.
Know the environmental regulations too. Marine protected areas may have restrictions on fishing, collecting, anchoring, touching, or other activities.
Most importantly, don't assume that because you can physically reach the water somewhere, you're entitled to dive there.
Local access matters. Local rules matter. Taking care of these places matters if we want divers to continue having access to them.
Shore Diving Can Make You a Better Diver
One of the reasons I love shore diving is that it asks you to think.
There may not be a captain assessing conditions for you, a divemaster leading navigation, or a crew member waiting beside the oxygen kit. You and your buddy have to look at the site, understand the conditions, make a plan, manage your gas, navigate, communicate, and adapt when something changes.
That responsibility isn't a downside of shore diving. I think it's one of its greatest benefits.
You learn to look at the water before jumping into it. You start noticing current and swell. You get better with your compass. You learn how your gas consumption changes when you're working harder. You start thinking about exits, contingencies, signaling equipment, emergency planning, and whether the conditions in front of you actually match your abilities.
Those skills make you a better diver everywhere, not just from shore.
Some of the Best Diving Is Right Off the Beach
Shore diving isn't the lesser version of diving you settle for when you can't get on a boat.
Some truly incredible diving is accessible from shore. Reefs, walls, lava formations, muck sites, wrecks, seagrass beds, and incredible macro sites can all be accessible without ever stepping onto a boat. Some of my favorite dive sites are shore dives, and Shark's Cove will always hold a particularly special place in my heart.
I love the freedom of it. I love taking my time. I love gearing up beside the car with my buddy and knowing we're about to walk into the ocean and see what we can find.
I also love that shore diving rewards preparation.
Find the dive-site map. Talk to the local dive shop. Check the weather, swell, tides, and current. Stand on shore and actually look at the water. Plan your entry and your exit. Have an alternate when appropriate. Know your route and gas plan. Carry appropriate visual and audible signaling equipment. Bring a DSMB and know how to use it. Check the local dive-flag laws, and even where a flag isn't required, consider using one because being more visible to boat traffic is rarely a bad thing. PADI describes a dive flag as a good general safety practice even where it isn't legally mandated, and DAN likewise recommends it as a prudent addition in appropriate environments.
Bring a save-a-dive kit. Know where your first-aid supplies and emergency oxygen are. Have an emergency action plan. Make sure someone knows where you're going. Then do your buddy check, take one more look at the water, and decide whether the dive you planned still makes sense.
Some of the best diving in the world doesn't require a liveaboard, a giant stride, or even a boat. Sometimes all you need is a tank on your back, a buddy beside you, and a path into the ocean.
Just make sure you've figured out how you're getting back out.
Dive safe, explore passionately, and remember…